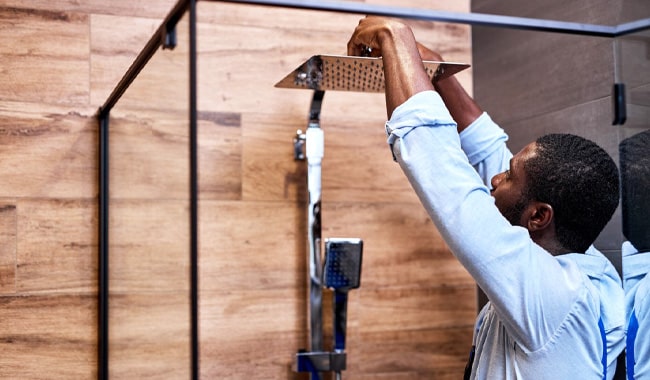

Are Expensive Shower Heads Worth It?
Keeping an expensive iPhone in the pocket or riding a luxurious car has become a preference for most of us. But what about our shower?
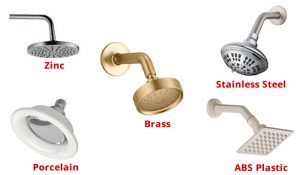
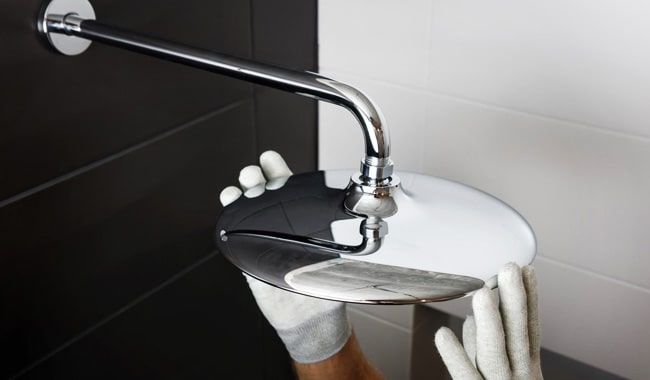
5 Best Shower Head Materials (What to Buy?)
When choosing a new shower head, you might wonder which material is best for your home. Luckily, we’ve found that stainless steel works better than
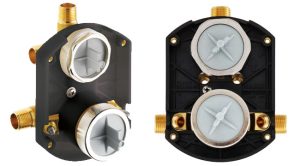
Delta R22000 Vs. R22000ws Shower Valve | Which One to Choose?
Shower valves are an integral part of any bathroom. Not just because it’s used to control the temperature and the water flow, but it also

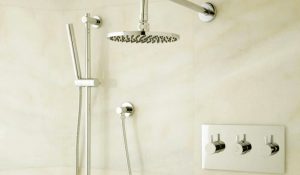
Shower Head Buying Guide: What to Look for?
In this guide, you will know almost everything you need to know before purchasing a showerhead. We’ve conducted an extreme level of research to make

Shower Head Placement Ideas
If considering building or remodeling your bathroom, you will always be compelled to install the best and standard-sized shower head. New and astounding showers are

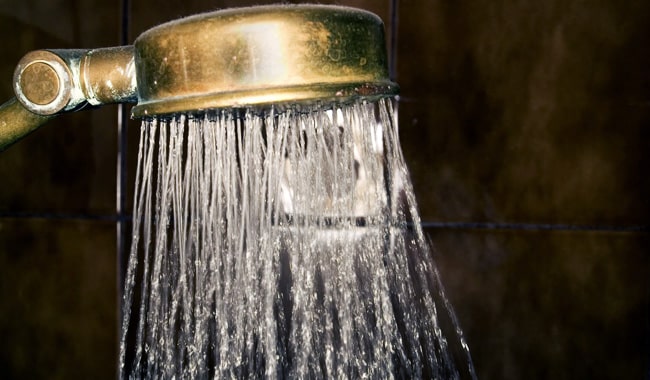
Rain Shower Head Pros and Cons
Who doesn’t like to get wet under the sky while it rains? However, our civilizations have minimized life inside the boxes of buildings. We cannot