
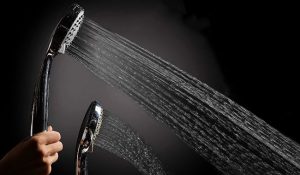
The 9 Best High Pressure Shower Heads of 2023
After a long day of tiring work schedule, we desperately need a hot shower. But what happens when you turn the shower knob and find
HO2ME High Pressure Handheld Shower Head Review
The HO2ME shower head is a product of the G-Promise brand. This shower head has a beautiful design that catches the eye of any potential
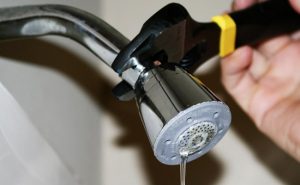
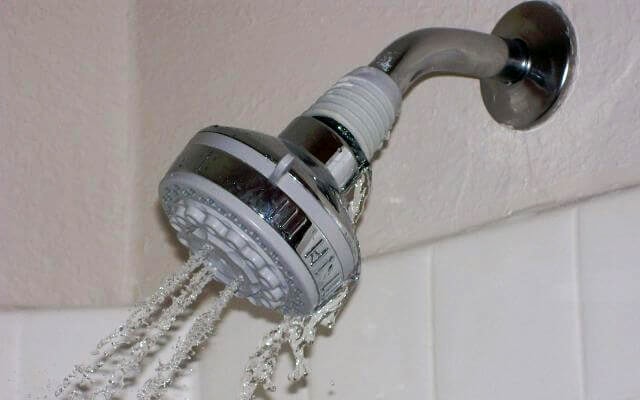
How To Fix A Leaking Shower Head | Simple Guide With Steps
Standing under the shower with a shower head that gives out water at a wonderful water pressure, after a long day at work is blissful.
Why Does Shower Head Squeal?
You wake up in the morning with a peaceful mind and go to take shower for starting your day. You turn on the shower and it
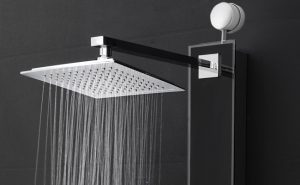
Top 10 Best Shower Head Brands in 2023 | Latest & New
Shower can turn your mood from a slow drip full of fatigue and pity into a cocoon of satisfaction, luxury and even comfort. It’s quite

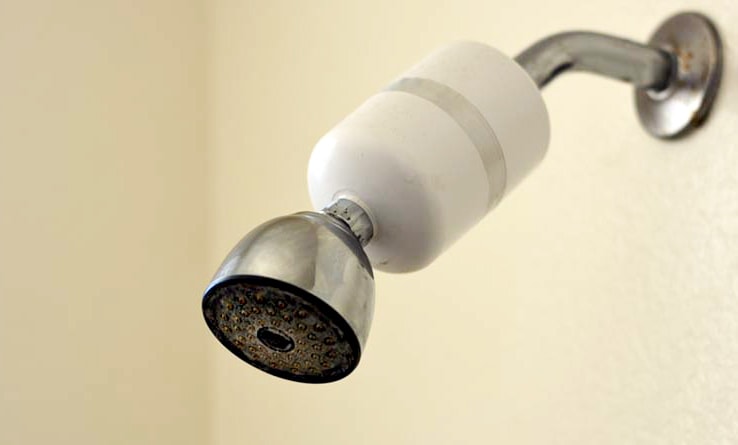
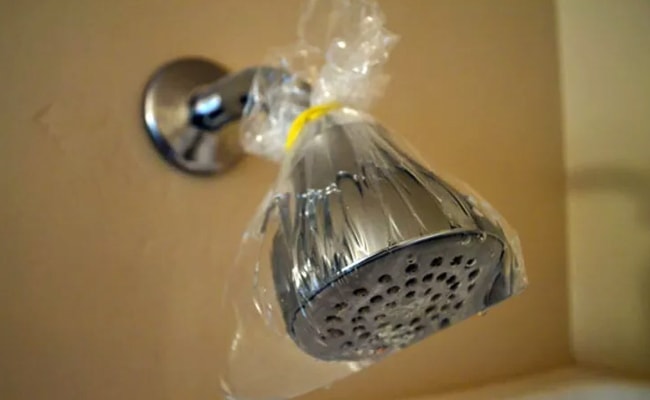
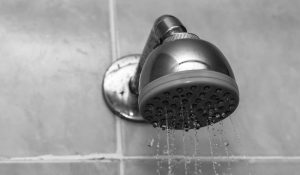
How To Clean Shower Head? | Step-by-Step Guide
Shower Heads are a blessing sent from above. I say this because when you’re overworked and exhausted or when it’s too hot, showering under a